
Making STEM Clear:
Four Simple Steps for Designing Inclusive Courses
Four Simple Steps for Designing Inclusive Courses

For many educators, creating accessible STEM content feels like a monumental technical challenge. We rely on visual diagrams, complex graphs, and detailed formulas—all things that can be tricky for students using assistive technology.
The good news? Making your STEM courses accessible doesn’t require becoming a coding expert. It simply requires a shift in how you use existing tools and a focus on providing clear, descriptive text. Here are three simple strategies to make your technical content inclusive from the start.
1. Making Equations Accessible: An Equation Editor
The biggest hurdle is making sure students who can’t see the equation can hear it accurately. When you type an equation just using your keyboard, a screen reader often reads a confusing jumble of symbols and words.
- Actionable Step: Always use a professional equation editor (like the one built into CourseArc). These tools automatically create the necessary MathML structure behind the scenes, so the equation is read aloud clearly, like, “The Pythagorean theorem: a squared plus b squared equals c squared.” The tools also tag the content ‘Math Content’ so students know they can analyze the equations at a more granular level, going character by character if needed.
- See it in Action: Listen to a live example of how using an accessible equation editor changes how an equation is read with a screen reader versus just using plain text in the following video.
- Take it a Step Further: Consider adding a description for how the equation can be read aloud. Often the way an equation is read with symbols is different from the way a math instructor would read the equation aloud. This helps all students understand the language of STEM content. Check out an example on this Reading Equations page.
2. Giving Visual Content a Voice: Graphs and Diagrams
Graphs, charts, and diagrams are crucial to STEM content but they are often inaccessible.
- Actionable Step: Every time you include a graph, ask yourself: “What is the single most important message or trend this visual is showing?” Summarize these key trends and relationships rather than focusing on every little detail.
- Data Tables: For complex charts, add a properly tagged data table using header tags. This provides a navigable, text-based version of the data for screen readers.
- Beyond Color: Don’t rely on color alone to convey meaning (e.g., “the red line indicates growth”). Use different shapes (squares, circles) or patterns (dashes, dots) to differentiate lines so the data is clear for all students.
3. Consistency by Design: Start with a Template
Accessibility shouldn’t be an afterthought, but a fundamental part of the design process. By starting your project with pre-configured templates, you can save time and provide consistency for students on each content page.
- Actionable Step: Use templates to save time and establish consistency with a clear hierarchy. Page templates with heading styles and shorter templates for repeated visual descriptions help you build accessible pages quickly. This allows students to navigate seamlessly between sections using their assistive technology tools.
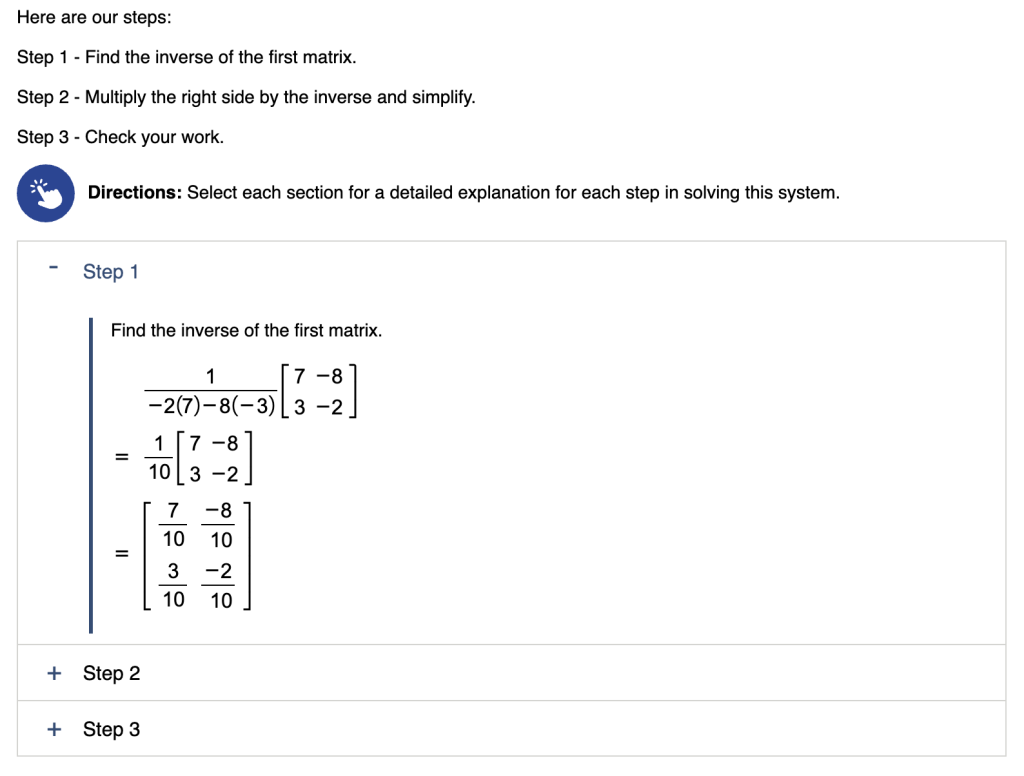
- Here’s an example of a template for describing a graph of a parabola that can be repeated all throughout the lesson. Only the highlighted and bracketed text needs to be revised for each image:
“The graph is a parabola opening [upward/downward]. The [lowest/highest] point is at [(#,#)]. The graph crosses the x-axis at approximately [#] and [#] and the y-axis at [#].”
- Here’s an example of a template for describing a graph of a parabola that can be repeated all throughout the lesson. Only the highlighted and bracketed text needs to be revised for each image:
- Cognitive Load: Organizing your modules consistently through templates reduces the cognitive load on students, letting them focus on the complex subject matter rather than figuring out how to navigate the page. You can further reduce cognitive load by chunking complex content using tabs or accordions to make complex processes easier to digest.
4. Using AI to Accelerate Accessible Content Creation
While the first three steps provide the foundation, AI can be the “force multiplier” that helps with the time-consuming parts of accessibility. AI acts as a bridge, translating complex visual or technical data into inclusive formats in seconds.
- Actionable Step: Use AI as a “description assistant.” Upload a complex diagram to a tool like Gemini and ask something like: “Describe this for a screen reader user, focusing on the key trends and scientific relationships.” This gives you a high-quality image description draft to refine instantly. We created a CustomGPT to help with this process so you don’t need to be an AI prompt engineer to get reliable results. Try out Image Insights with a ChatGPT account or learn more about the tool here.
- Converting Handwriting to Math: AI can now convert images of handwritten equations into MathML. This allows you to write naturally on paper or tablets while ensuring the final digital version is fully readable by assistive technology.
- Take it a Step Further: Always perform a “Human-in-the-Loop” check. While AI is excellent at providing a solid first draft, a quick review ensures it hasn’t misinterpreted a subtle nuance in a graph or added extra details you don’t need to include.
By adopting these simple steps, you can ensure that the complexity of your subject matter is the only challenge your students face.
Ready to See the Process in Action?
Learn how to apply these strategies efficiently and see how technology, including powerful AI features can work for you by viewing our most recent webinar.
Leave A Comment